巧用宏命令,完美实现一页A4纸打印多张高清照片或幻灯片
巧用宏命令,完美实现一页A4纸打印多张高清照片或幻灯片
莘县一中张仿刚
工作中我们经常遇到这些情况:学籍库中2000多张照片,如何有序的打印在A4纸上,每张36张且把学籍号有序的自动填充到照片下方?家庭外出游玩的照片如何方便的按规定的尺寸打印在A4像纸上?一个ppt文件有96张幻灯片,如何清晰的在A4纸中一页打8张ppt(甚至更多张)?本文就以实例解决上述问题。
首先我们需要在word中安装“自动排版”宏命令,方法如下:word→工具→宏→录制新宏→宏名macrol 改为“自动排版”→确定→界面出现蓝色对话框,停止录制,然后word→工具→宏→选中宏“自动排版”→编辑,删除尾行的“end sub”,然后在尾行复制粘贴下列内容,关闭Visual Basic 编辑器,这样自动排版的宏命令就已经制作好了。
'【调整页边距及页眉页脚距,适用于A4纸】
With ActiveDocument.Styles(wdStyleNormal).Font
If .NameFarEast = .NameAscii Then
.NameAscii = ""
End If
.NameFarEast = ""
End With
With ActiveDocument.PageSetup
.LineNumbering.Active = False
.Orientation = wdOrientPortrait
.TopMargin = CentimetersToPoints(1.6)
.BottomMargin = CentimetersToPoints(0.9)
.LeftMargin = CentimetersToPoints(1.4)
.RightMargin = CentimetersToPoints(1)
.Gutter = CentimetersToPoints(0)
.HeaderDistance = CentimetersToPoints(0.5)
.FooterDistance = CentimetersToPoints(0.9)
.PageWidth = CentimetersToPoints(21)
.PageHeight = CentimetersToPoints(29.7)
.FirstPageTray = wdPrinterDefaultBin
.OtherPagesTray = wdPrinterDefaultBin
.SectionStart = wdSectionNewPage
.OddAndEvenPagesHeaderFooter = False
.DifferentFirstPageHeaderFooter = False
.VerticalAlignment = wdAlignVerticalTop
.SuppressEndnotes = False
.MirrorMargins = False
.TwoPagesOnOne = False
.BookFoldPrinting = False
.BookFoldRevPrinting = False
.BookFoldPrintingSheets = 1
.GutterPos = wdGutterPosLeft
.LayoutMode = wdLayoutModeLineGrid
End With
'【加页码,页脚居中处】
Selection.Sections(1).Footers(1).PageNumbers.Add PageNumberAlignment:= _
wdAlignPageNumberCenter, FirstPage:=True
If ActiveWindow.View.SplitSpecial <> wdPaneNone Then
ActiveWindow.Panes(2).Close
End If
If ActiveWindow.ActivePane.View.Type = wdNormalView Or ActiveWindow. _
ActivePane.View.Type = wdOutlineView Then
ActiveWindow.ActivePane.View.Type = wdPrintView
End If
ActiveWindow.ActivePane.View.SeekView = wdSeekCurrentPageHeader
If Selection.HeaderFooter.IsHeader = True Then
ActiveWindow.ActivePane.View.SeekView = wdSeekCurrentPageFooter
Else
ActiveWindow.ActivePane.View.SeekView = wdSeekCurrentPageHeader
End If
If ActiveWindow.ActivePane.View.Type = wdNormalView Or ActiveWindow. _
ActivePane.View.Type = wdOutlineView Then
If ActiveWindow.Panes.Count = 2 Then
ActiveWindow.Panes(2).Close
End If
ActiveWindow.View.SplitSpecial = wdPaneCurrentPageHeader
Else
ActiveWindow.View.SeekView = wdSeekCurrentPageHeader
End If
ActiveWindow.ActivePane.View.SeekView = wdSeekMainDocument
ActiveWindow.ActivePane.VerticalPercentScrolled = 0
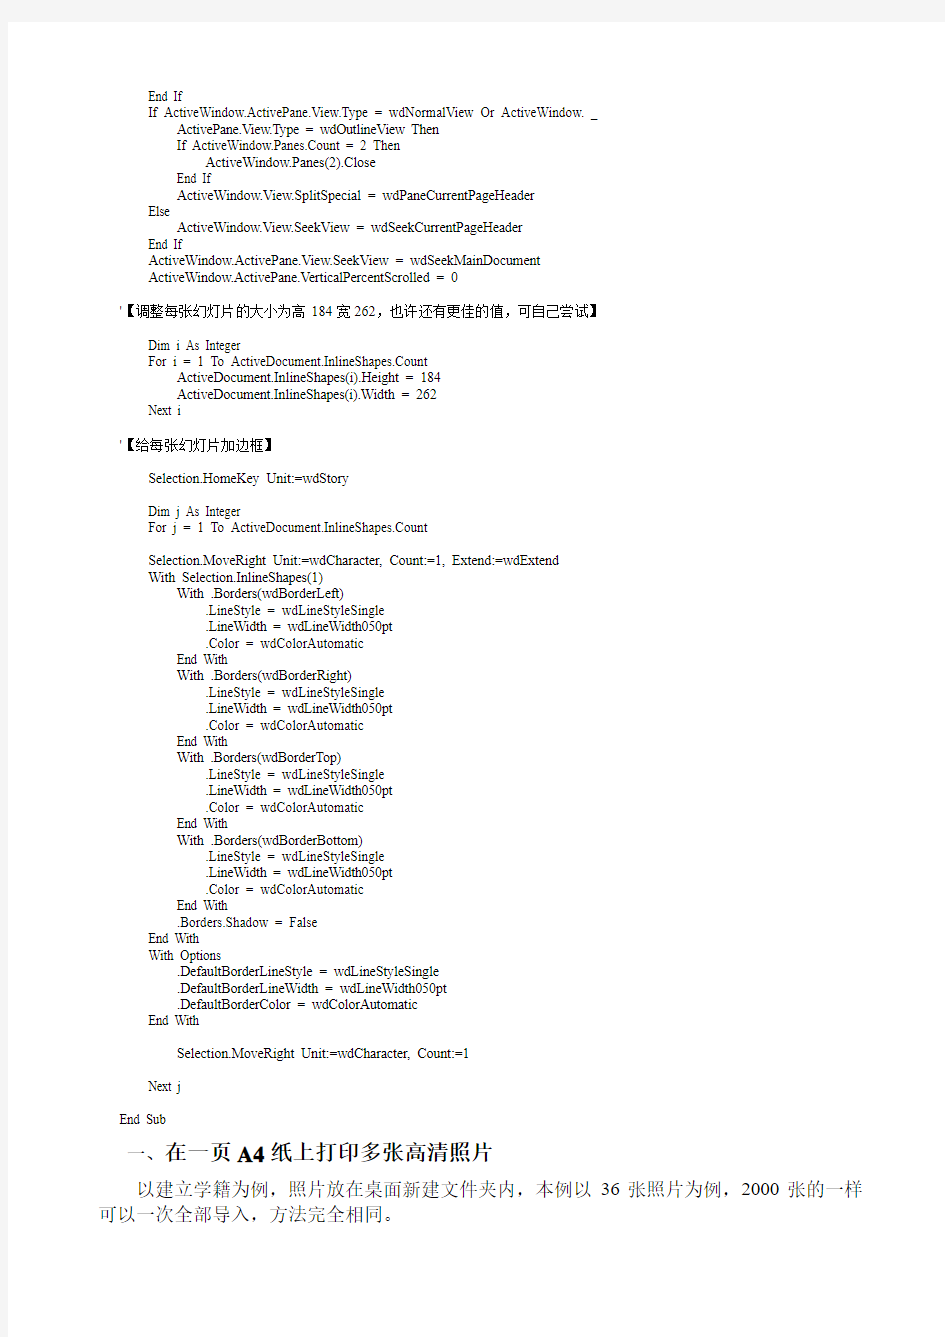
'【调整每张幻灯片的大小为高184宽262,也许还有更佳的值,可自己尝试】
Dim i As Integer
For i = 1 To ActiveDocument.InlineShapes.Count
ActiveDocument.InlineShapes(i).Height = 184
ActiveDocument.InlineShapes(i).Width = 262
Next i
'【给每张幻灯片加边框】
Selection.HomeKey Unit:=wdStory
Dim j As Integer
For j = 1 To ActiveDocument.InlineShapes.Count
Selection.MoveRight Unit:=wdCharacter, Count:=1, Extend:=wdExtend
With Selection.InlineShapes(1)
With .Borders(wdBorderLeft)
.LineStyle = wdLineStyleSingle
.LineWidth = wdLineWidth050pt
.Color = wdColorAutomatic
End With
With .Borders(wdBorderRight)
.LineStyle = wdLineStyleSingle
.LineWidth = wdLineWidth050pt
.Color = wdColorAutomatic
End With
With .Borders(wdBorderTop)
.LineStyle = wdLineStyleSingle
.LineWidth = wdLineWidth050pt
.Color = wdColorAutomatic
End With
With .Borders(wdBorderBottom)
.LineStyle = wdLineStyleSingle
.LineWidth = wdLineWidth050pt
.Color = wdColorAutomatic
End With
.Borders.Shadow = False
End With
With Options
.DefaultBorderLineStyle = wdLineStyleSingle
.DefaultBorderLineWidth = wdLineWidth050pt
.DefaultBorderColor = wdColorAutomatic
End With
Selection.MoveRight Unit:=wdCharacter, Count:=1
Next j
End Sub
一、在一页A4纸上打印多张高清照片
以建立学籍为例,照片放在桌面新建文件夹内,本例以36张照片为例,2000张的一样可以一次全部导入,方法完全相同。
第一步:修改宏文件。工具→宏→宏“自动排版”,改变照片宽度和高度,其他不变,
第二步:Word。插入→图片→来自文件,可用快捷键“Ctrl+A”全选学籍库所有图片,插入。
第三步:word。工具—→宏—→宏,选择宏“自动排版”,运行。效果如下:
第四步:word。文件→页面设置→上下左右边距可调为2cm。全选文档(ctrl+A),点居中图标。
第五步:word。添加加文件名(学籍号)。首先在第一行照片后面击两次回车键,空出一行,插入表格(1行×6列),调整表格端线,使得空格对应每张照片下面。如下图:
然后选中表格左上角的十字全选表格,击右键,表格属性→边框和底纹→边框→设置为“无”→确定。
再次全选表格,格式→项目和符号→编号→选中左起第2各编号→自定义→编号格式在灰色闪动的“1”前添加“20103725000”,再把灰色“1”后面的黑点删掉。
第六步:word。自动填充学籍号。全选中刚才自动填充好表格,复制→在每行照片后面粘贴。由于word只支持1—9999四位数字,当遇到更位时,即学籍尾号为“10”、“100”、“1000”时要重新设定。如出现“00010”需改为“0010”,则选中该生下方的编号→格式或右键→项目符号和编号→自定义编号→编号格式减去一个0→起始编号改为10→确定,同理出现100、1000时也要改两次。另外出现断码时按同样的方法操作。
二、在一页A4纸上打印8张ppt幻灯片
常常需要将PPT的内容以讲义形式打印出来,但PPT打
印设置里只支持一页纸上打印1,2,3,4,6,9页幻灯片几种形式,
而且格式几乎无法调整而且格式几乎无法调整。笔者尝试打
开ppt文件后,执行:文件→打印→对话框“打印内容”→
选择“讲义”→“每页幻灯片数”选择9→预览结果很不理想,
幻灯片之间的间距过大,从而使得幻灯片内容太小且不清晰。
本法仍然采取宏命令进行操作。
第一步:Powerpoint:文件→另存为→windows图元文件,如果
PPT有背景,可先将背景模板改为白版形式,为方便阅读,可先
在ppt中添加幻灯片编号后再另存为图片元件。
第二步:Word:插入→图片→来自文件,用快捷键“Ctrl+A”全选
刚才产生的所有图片,插入。
第三步:Word:工具→宏→宏“自动排版”,运行,如右图。
第五步:可以调整页边距,如果想一页上有更多幻灯片可以适当
编辑宏命令中的图片大小(工具→宏→宏→编辑→修改图片参数→关
闭Visual Basic 编辑器),重新运行宏即可观察效果,可尝试反复调整。
总之,只要你善于运用该宏命令,即可做到对照片的自由打印。