qt 串口 实现代码

2012/8/18
本人刚做完,肯定能行,与网上教程略有不同。
1.qt界面串口功能现实:基于qt-4.5.3,fedora 8系统。
在Qt 中并没有特定的串口控制类,现在大部分人使用的是第三方写的qextserialport 类,我们这里也是使用的该类。我们可以去https://www.sodocs.net/doc/c05985165.html,/projects/qextserialport/files/进行下载。下载到的文件为:qextserialport-1.2win-alpha.zip。
我们在linux下只需要使用其中的6 个文件:qextserialbase.cpp 和qextserialbase.h,qextserialport.cpp 和qextserialport.h,posix_qextserialport.cpp 和posix_qextserialport.h。
接下来我们可以再根目录下建立一个名为mycom的文件。然后将上面的六个文件拷贝到mycom中。
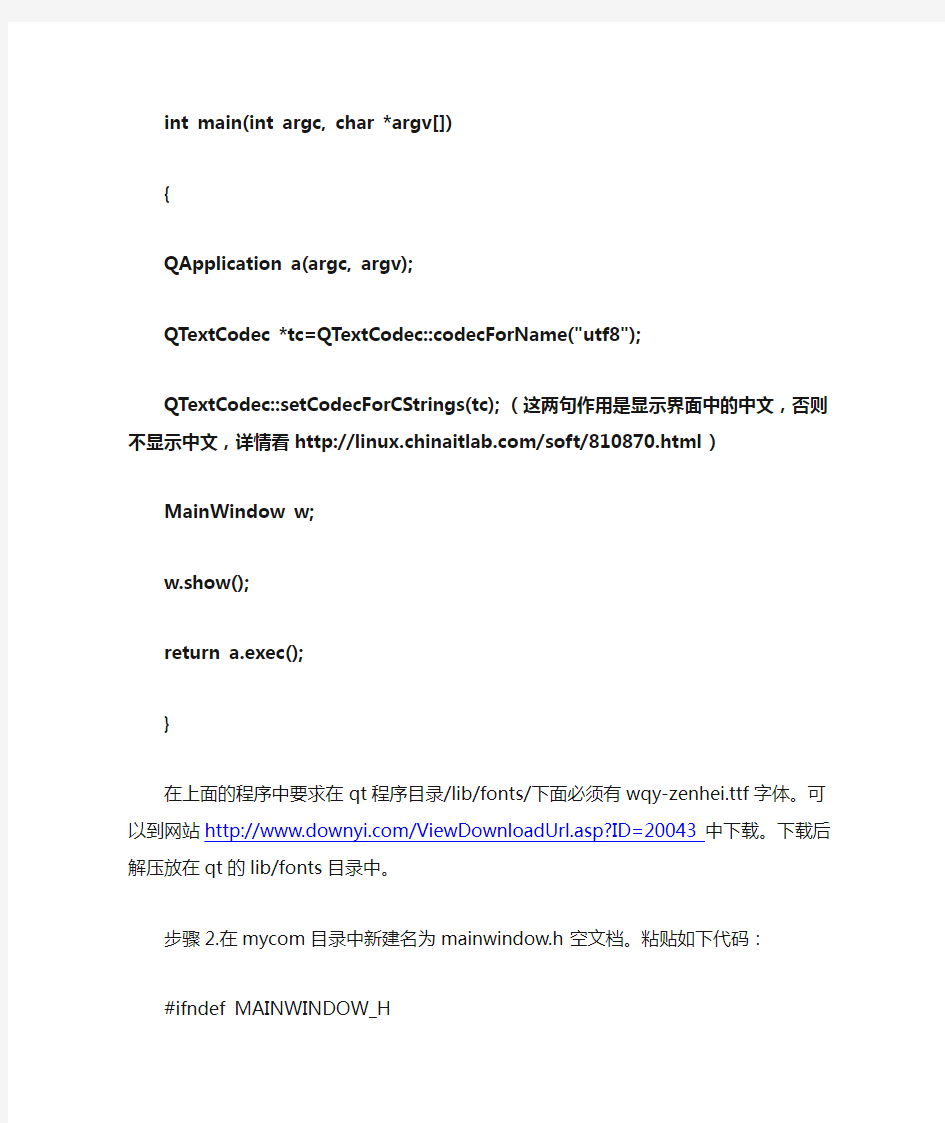
步骤1.在mycom目录新建一个名为main.cpp的空文档。粘贴如下代码:
#include
#include
#include "mainwindow.h"
int main(int argc, char *argv[])
{
QApplication a(argc, argv);
QTextCodec *tc=QTextCodec::codecForName("utf8");
QTextCodec::setCodecForCStrings(tc);(这两句作用是显示界面中的中文,否则不显示中文,详情看https://www.sodocs.net/doc/c05985165.html,/soft/810870.html)
MainWindow w;
w.show();
return a.exec();
}
在上面的程序中要求在qt程序目录/lib/fonts/下面必须有wqy-zenhei.ttf字体。可以到网站https://www.sodocs.net/doc/c05985165.html,/ViewDownloadUrl.asp?ID=20043中下载。下载后解压放在qt的lib/fonts目录中。
步骤2.在mycom目录中新建名为mainwindow.h空文档。粘贴如下代码:
#ifndef MAINWINDOW_H
#define MAINWINDOW_H
#include
#include "posix_qextserialport.h"
namespace Ui
{
class MainWindow;
}
class MainWindow : public QMainWindow
{
Q_OBJECT
public:
MainWindow(QWidget *parent = 0);
~MainWindow();
private:
Ui::MainWindow *ui;
Posix_QextSerialPort *myCom;
private slots:
void on_sendMsgBtn_clicked();
void on_closeMyComBtn_clicked();
void on_openMyComBtn_clicked();
void readMyCom();
};
#endif // MAINWINDOW_H
步骤3.在mycom中新建名为mainwindow.cpp空文档。
#include "mainwindow.h"
#include "ui_mainwindow.h"
MainWindow::MainWindow(QWidget *parent)
: QMainWindow(parent), ui(new Ui::MainWindow)
{
ui->setupUi(this);
struct PortSettings myComSetting = {BAUD115200,DATA_8,PAR_NONE,STOP_1,FLOW_OFF,500};
//定义一个结构体,用来存放串口各个参数
myCom = new Posix_QextSerialPort("com1",myComSetting,QextSerialBase::EventDriven);
//定义串口对象,并传递参数,在构造函数里对其进行初始化
myCom ->open(QIODevice::ReadWrite);
//以可读写方式打开串口
connect(myCom,SIGNAL(readyRead()),this,SLOT(readMyCom()));
//信号和槽函数关联,当串口缓冲区有数据时,进行读串口操作
ui->closeMyComBtn->setEnabled(false); //开始“关闭串口”按钮不可用
ui->sendMsgBtn->setEnabled(false); //开始“发送数据”按钮不可用
}
MainWindow::~MainWindow()
{
delete ui;
}
void MainWindow::readMyCom() //读串口函数
{
QByteArray temp = myCom->readAll();
//读取串口缓冲区的所有数据给临时变量temp
ui->textBrowser->insertPlainText(temp);
//将串口的数据显示在窗口的文本浏览器中
}
void MainWindow::on_openMyComBtn_clicked()
{
QString portName = ui->portNameComboBox->currentText(); //获取串口名
myCom = new Posix_QextSerialPort(portName,QextSerialBase::EventDriven);
//定义串口对象,并传递参数,在构造函数里对其进行初始化
myCom ->open(QIODevice::ReadWrite); //打开串口
if(ui->baudRateComboBox->currentText()==tr("9600")) //根据组合框内容对串口进行设置myCom->setBaudRate(BAUD9600);
else if(ui->baudRateComboBox->currentText()==tr("115200"))
myCom->setBaudRate(BAUD115200);
//设置波特率
if(ui->dataBitsComboBox->currentText()==tr("8"))
myCom->setDataBits(DATA_8);
else if(ui->dataBitsComboBox->currentText()==tr("7"))
myCom->setDataBits(DATA_7);
//设置数据位
if(ui->parityComboBox->currentText()==tr("无"))
myCom->setParity(PAR_NONE);
else if(ui->parityComboBox->currentText()==tr("奇"))
myCom->setParity(PAR_ODD);
else if(ui->parityComboBox->currentText()==tr("偶"))
myCom->setParity(PAR_EVEN);
//设置奇偶校验
if(ui->stopBitsComboBox->currentText()==tr("1"))
myCom->setStopBits(STOP_1);
else if(ui->stopBitsComboBox->currentText()==tr("2"))
myCom->setStopBits(STOP_2);
//设置停止位
myCom->setFlowControl(FLOW_OFF); //设置数据流控制,我们使用无数据流控制的默认设置myCom->setTimeout(500); //设置延时
connect(myCom,SIGNAL(readyRead()),this,SLOT(readMyCom()));
//信号和槽函数关联,当串口缓冲区有数据时,进行读串口操作
ui->openMyComBtn->setEnabled(false); //打开串口后“打开串口”按钮不可用
ui->closeMyComBtn->setEnabled(true); //打开串口后“关闭串口”按钮可用
ui->sendMsgBtn->setEnabled(true); //打开串口后“发送数据”按钮可用
ui->baudRateComboBox->setEnabled(false); //设置各个组合框不可用
ui->dataBitsComboBox->setEnabled(false);
ui->parityComboBox->setEnabled(false);
ui->stopBitsComboBox->setEnabled(false);
ui->portNameComboBox->setEnabled(false);
}
void MainWindow::on_closeMyComBtn_clicked()
{
myCom->close();
ui->openMyComBtn->setEnabled(true); //关闭串口后“打开串口”按钮可用
ui->closeMyComBtn->setEnabled(false); //关闭串口后“关闭串口”按钮不可用
ui->sendMsgBtn->setEnabled(false); //关闭串口后“发送数据”按钮不可用
ui->baudRateComboBox->setEnabled(true); //设置各个组合框可用
ui->dataBitsComboBox->setEnabled(true);
ui->parityComboBox->setEnabled(true);
ui->stopBitsComboBox->setEnabled(true);
ui->portNameComboBox->setEnabled(true);
}
void MainWindow::on_sendMsgBtn_clicked()
{
myCom->write(ui->sendMsgLineEdit->text().toAscii());
//以ASCII码形式将行编辑框中的数据写入串口
}
步骤4.在mycom目录中新建一个mainwindow.ui的文档。内容如下:
步骤5:在mycom目录下执qmake –project ,qmake mycom.pro ,make .
执行完后生成一个mycom的可执行文件。接下来就可以在qvfb上查看实验结果。